Frame-Tex Installation Instructions
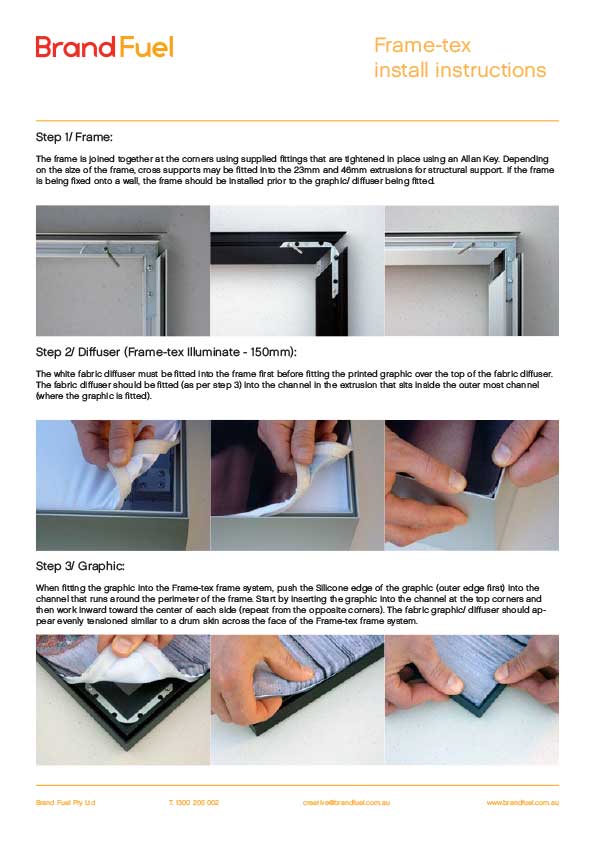
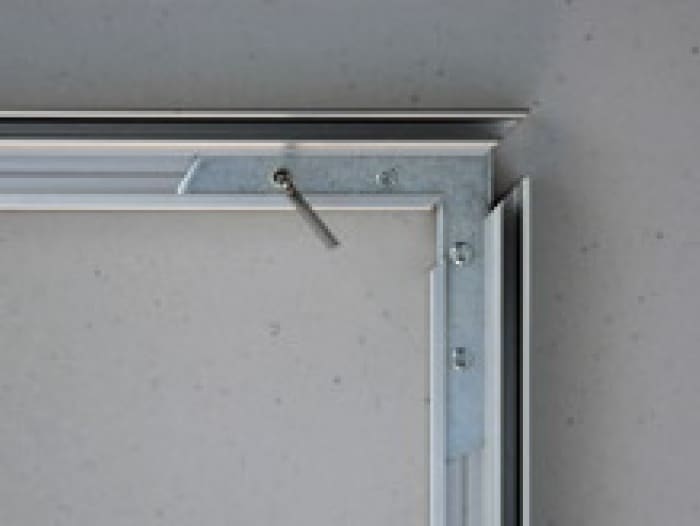
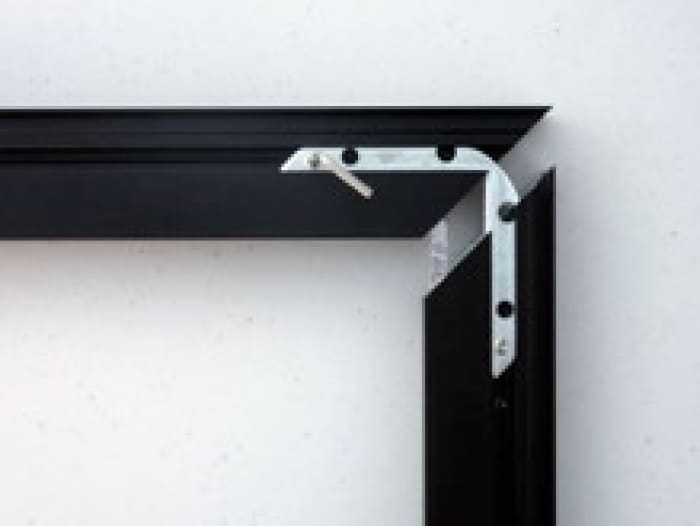
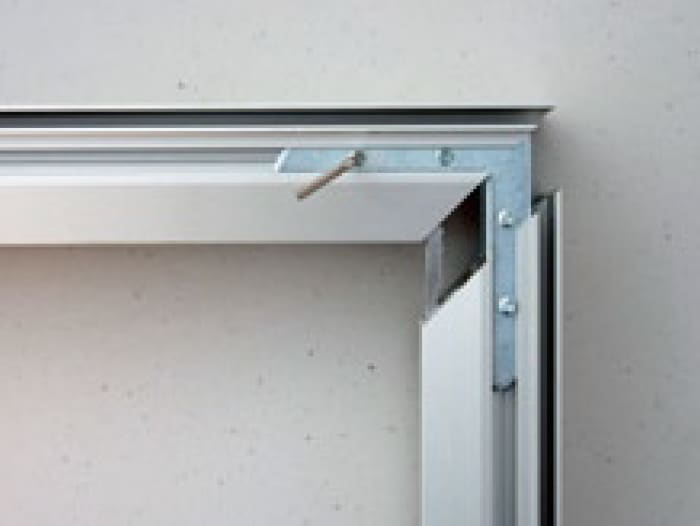
Step 1: Frame
The frame is joined together at the corners using supplied fittings that are tightened in place using an Allan Key. Depending on the size of the frame, cross supports may be fitted into the 23mm and 46mm extrusions for structural support. If the frame is being fixed onto a wall, the frame should be installed prior to the graphic/ diffuser being fitted.
Step 2: Diffuser (Frame-tex Illuminate – 150mm)
The white fabric diffuser must be fitted into the frame first before fitting the printed graphic over the top of the fabric diffuser. The fabric diffuser should be fitted (as per step 3) into the channel in the extrusion that sits inside the outer most channel (where the graphic is fitted).
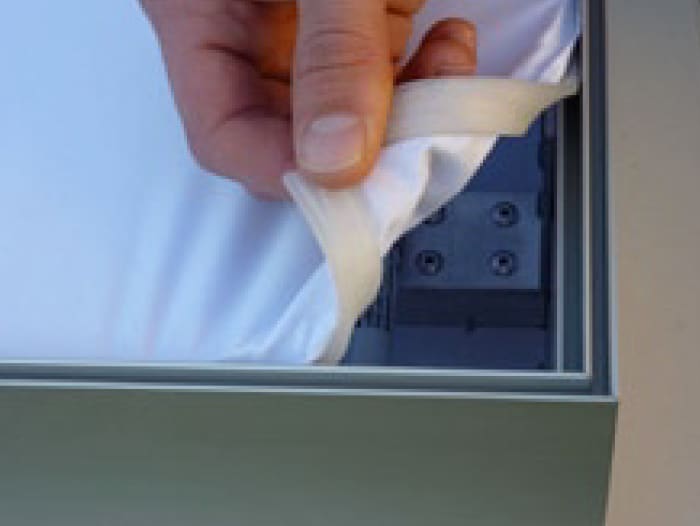
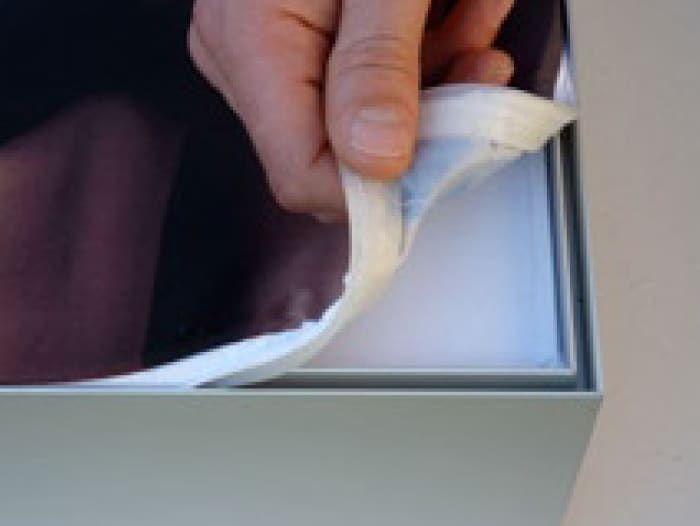
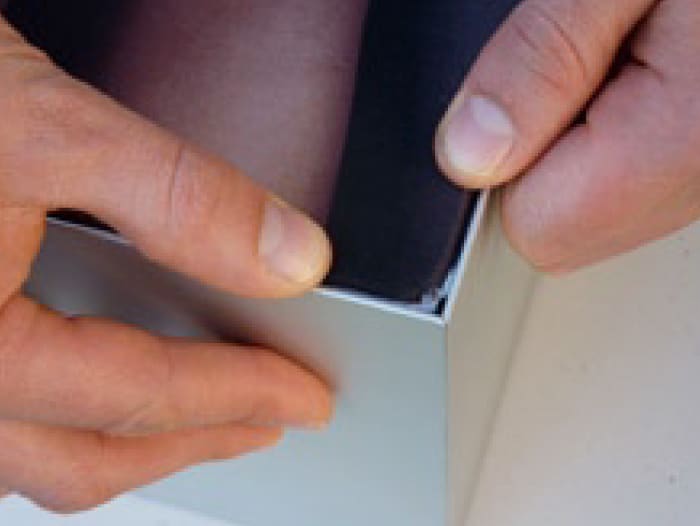
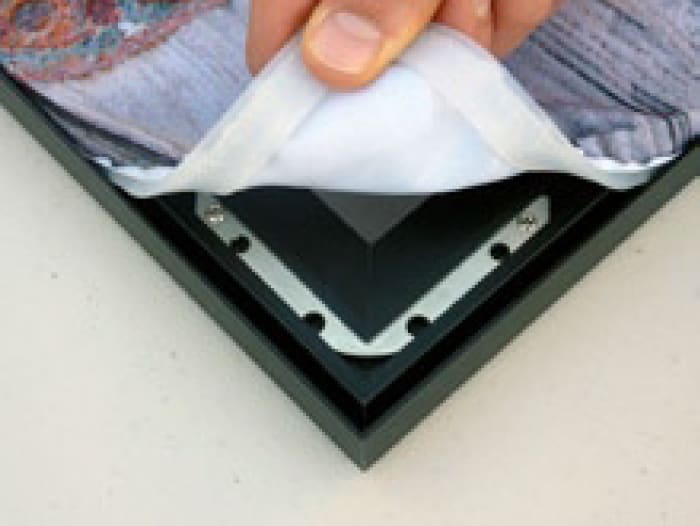
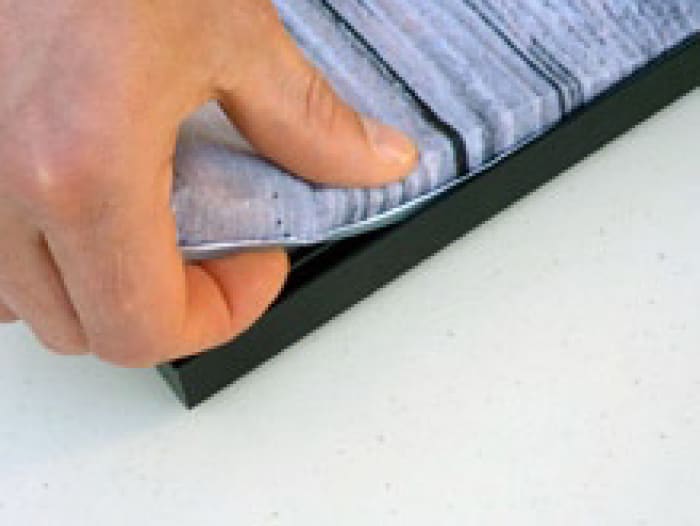
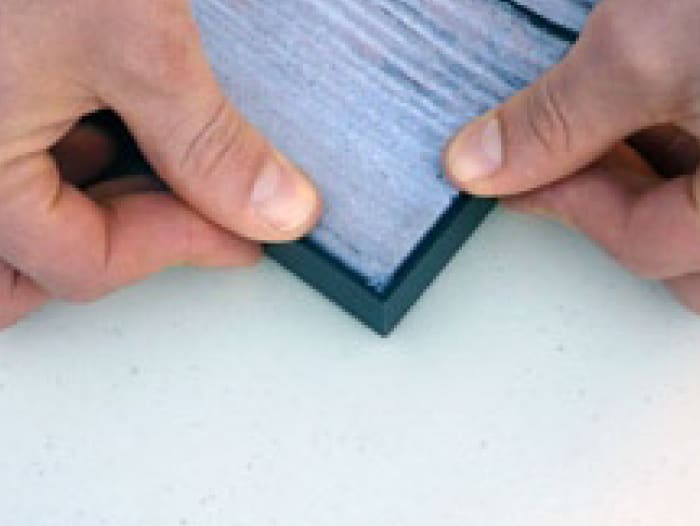
Step 3: Graphic
When fitting the graphic into the Frame-tex frame system, push the Silicone edge of the graphic (outer edge first) into the channel that runs around the perimeter of the frame. Start by inserting the graphic into the channel at the top corners and then work inward toward the center of each side (repeat from the opposite corners). The fabric graphic/ diffuser should appear evenly tensioned similar to a drum skin across the face of the Frame-tex frame system.